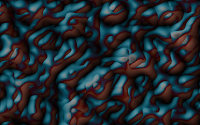
I discovered this abstract background by accident, obviously the settings shown could be changed to give a different look, hope you like it.
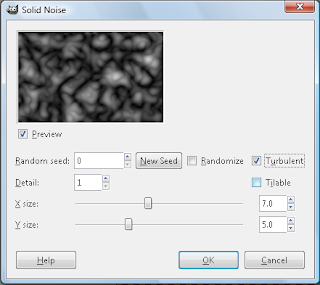
I use gimp for this tutorial, after opening a new window(I prefer to use transparent backgrounds) you will need to create a cloud of with solid noise, Filters > Render > Clouds > Solid Noise. You should get something like this.
 |
| Cloud 1 |

 |
| Cloud 2 |

The next thing I did was create a new layer and fill it with #46d4f7. This color is not necessary you could use any you wish.
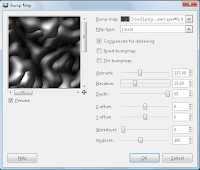
Next I go to the second black and white cloud (cloud 2) visible as well as the blue fill layer, I changed the mode on the blue layer to "Overlay" and yes new layer from visible.

I took our last layer set the mode to "Difference" and made Cloud 1 visible and this is what I got.

Alternately, if you made Cloud 2 visible your image will look pretty much black. At this point you could just make Cloud 1 visible or you could move the images around so they are off set or run a blur filter on the cloud layer. Here is an example of this:
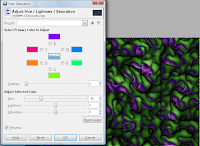
Once you have a basic image you can tweak the colors and brightness of your difference layer to get something closer to the color you want. Also once you merge the the layers you have a bit more color control but the image is more sensitive to simile color change options.
 | |
| Original from above |
 |
| Color tweaked to brighten image |
 |
| Color Change |
 |
| The First one I made |
 |
| Color change |


No comments:
Post a Comment